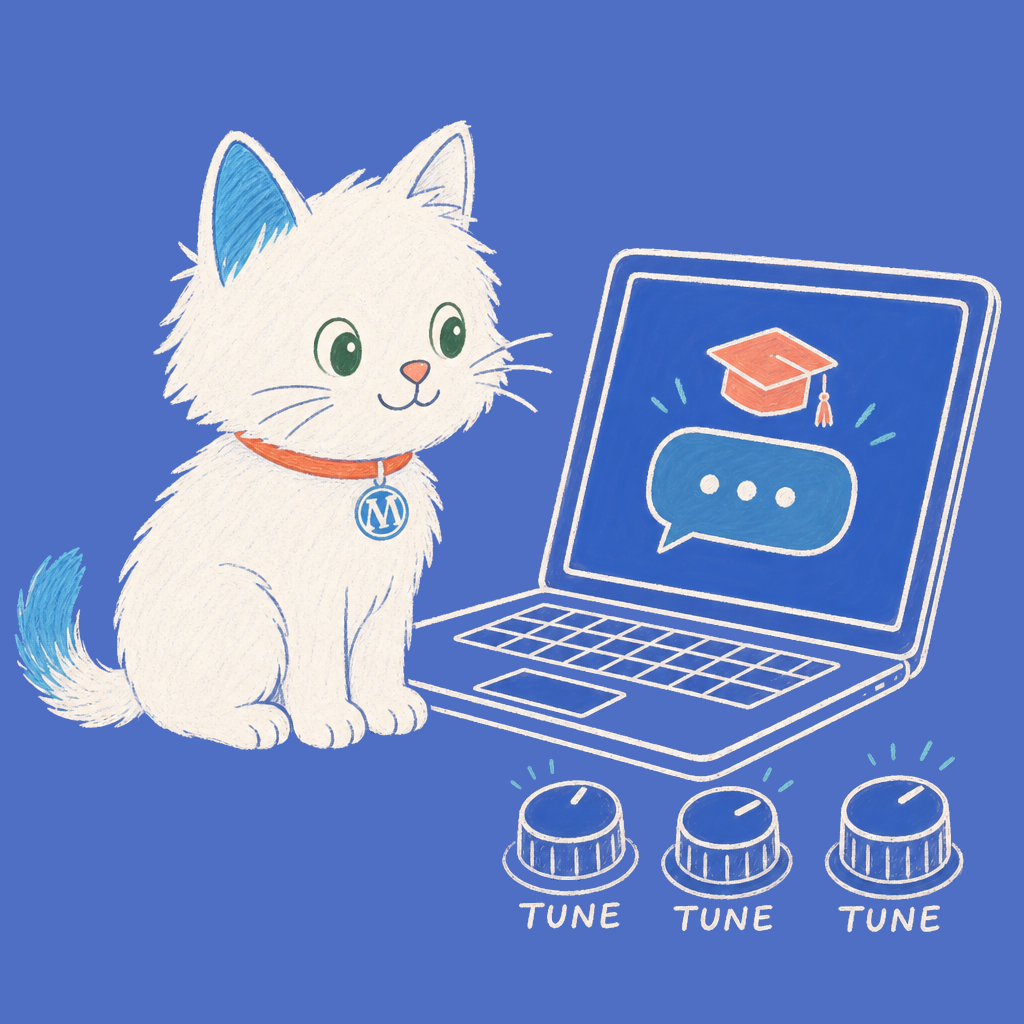
Three years ago, if you wanted a WordPress chatbot that knew your products, your tutorials, and your tone, the answer was fine-tuning a model. You collected 500 to 5000 prompt/completion pairs, paid OpenAI to train a custom GPT-3.5, and got a model that sounded like you.
It was the right answer at the time. It is the wrong answer now. If a consultant is still selling you fine-tuning for a customer-facing chatbot in 2026, walk away.
Why fine-tuning fell out of favor
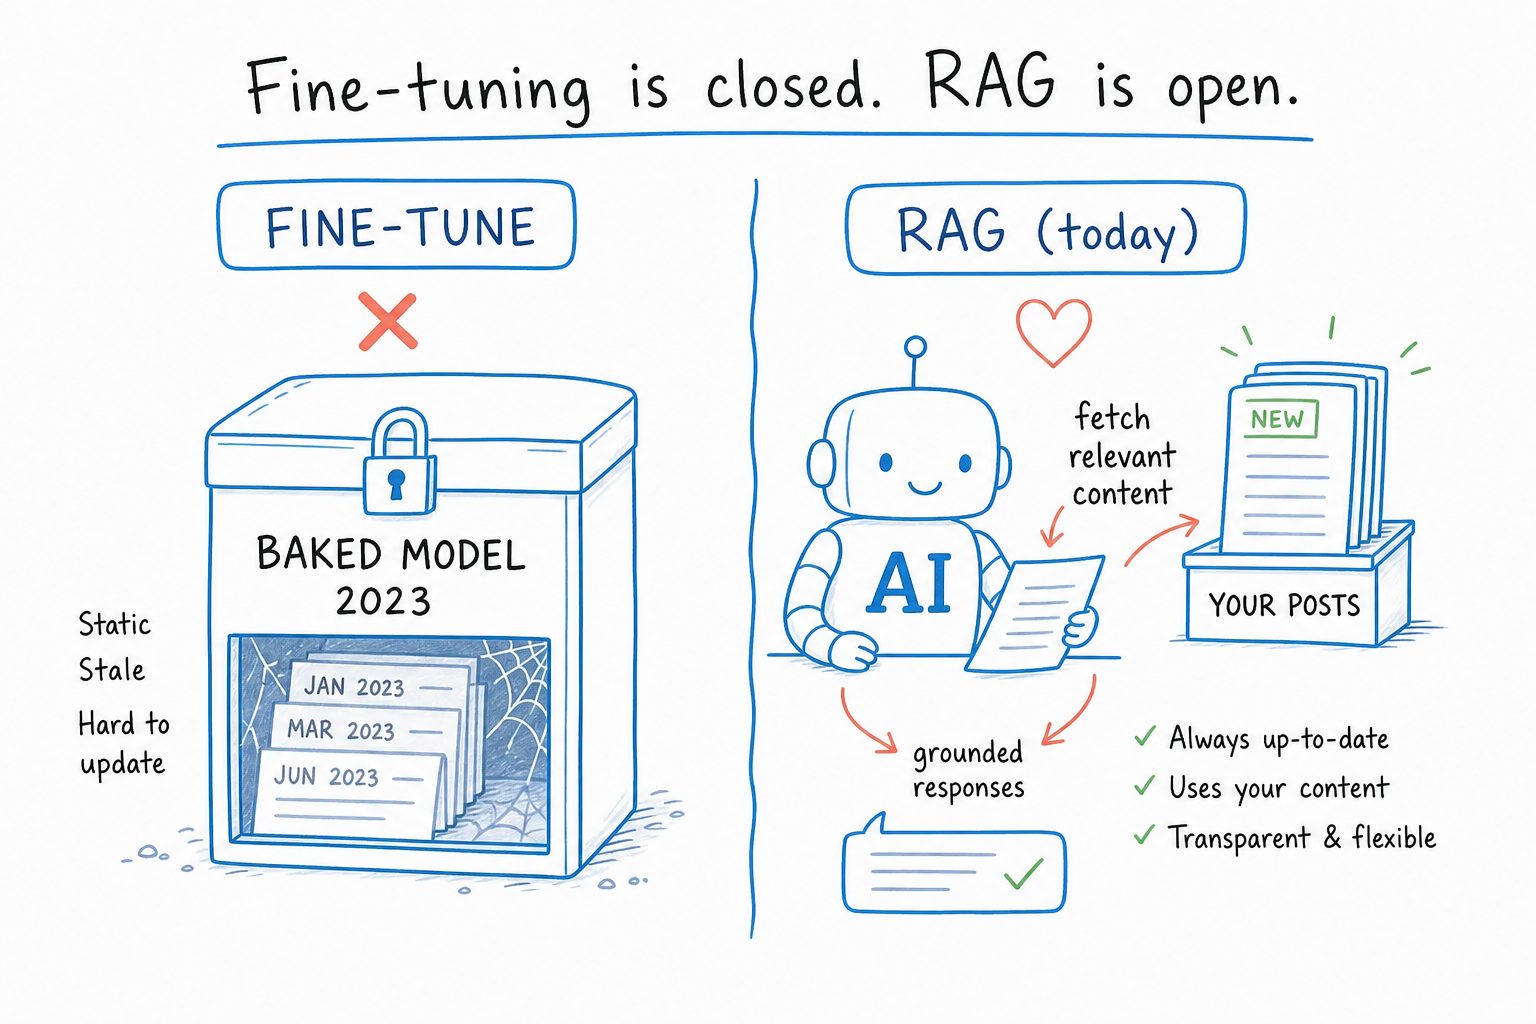
The reason is simple. A fine-tuned model bakes your content into the weights once, at training time. That has three problems:
- Stale knowledge. The day you publish a new post, your chatbot does not know about it. To update, you re-train. Time and money.
- Lossy compression. Models are not encyclopedias. They sometimes “forget” or hallucinate facts from their training data. For a chatbot that needs to answer correctly, this is a dealbreaker.
- The frontier models leapt past it. GPT-4, Claude 3.7, Gemini 2.5 are now so good at following instructions and using context that a properly-prompted base model out-performs a fine-tuned older one. The math no longer works.
OpenAI themselves quietly moved their documentation in this direction. The official guidance now says: try prompting and embeddings first. Only fine-tune if you have specific stylistic requirements that prompting cannot solve. The era of fine-tuning a chatbot to know your content is over. 😺
What works in 2026
The modern stack for a WordPress chatbot that knows your content has three pieces:
- A strong base model. GPT-4o, Claude Sonnet, or Gemini 2.5. Pick one in AI Engine, swap it any time, no retraining required.
- A clear system prompt. A few short paragraphs explaining the chatbot’s role, tone, what it should never say, and how to handle questions it does not know. This is where you imprint personality, not in fine-tuning.
- Your content as searchable context. An embeddings index of your posts, products, tutorials. At query time, AI Engine retrieves the relevant snippets and slips them into the prompt. The model reads them and answers. This is what people call RAG (retrieval-augmented generation), and AI Engine ships it out of the box.
Result: a chatbot that always knows your latest content (because re-embedding a new post takes seconds), can cite sources, costs a fraction of a fine-tuned model in API fees, and benefits from every base-model upgrade without you lifting a finger.
The full walkthrough is in the Contextualization section of the AI Engine tutorial. Twenty minutes from zero to a working content-aware chatbot.
The narrow case where fine-tuning still makes sense
There is exactly one scenario where fine-tuning is the right tool, and it is not about content:
- Strong stylistic constraints. You need every answer in a very specific format (rigid JSON schema, particular brand voice with no leeway, domain-specific shorthand) that prompting cannot reliably enforce. Then yes, fine-tune.
That is it. If your goal is “the chatbot knows my plugins / my products / my tutorials”, you do not need fine-tuning. You need RAG, and AI Engine gives it to you. 😌
In short
Use a frontier base model. Write a short, clear system prompt. Plug in your content as embeddings. Done. You will spend less, update faster, and get better answers than any fine-tuned chatbot from 2023. The era of “train your own ChatGPT on your blog” is over, and that is a good thing.