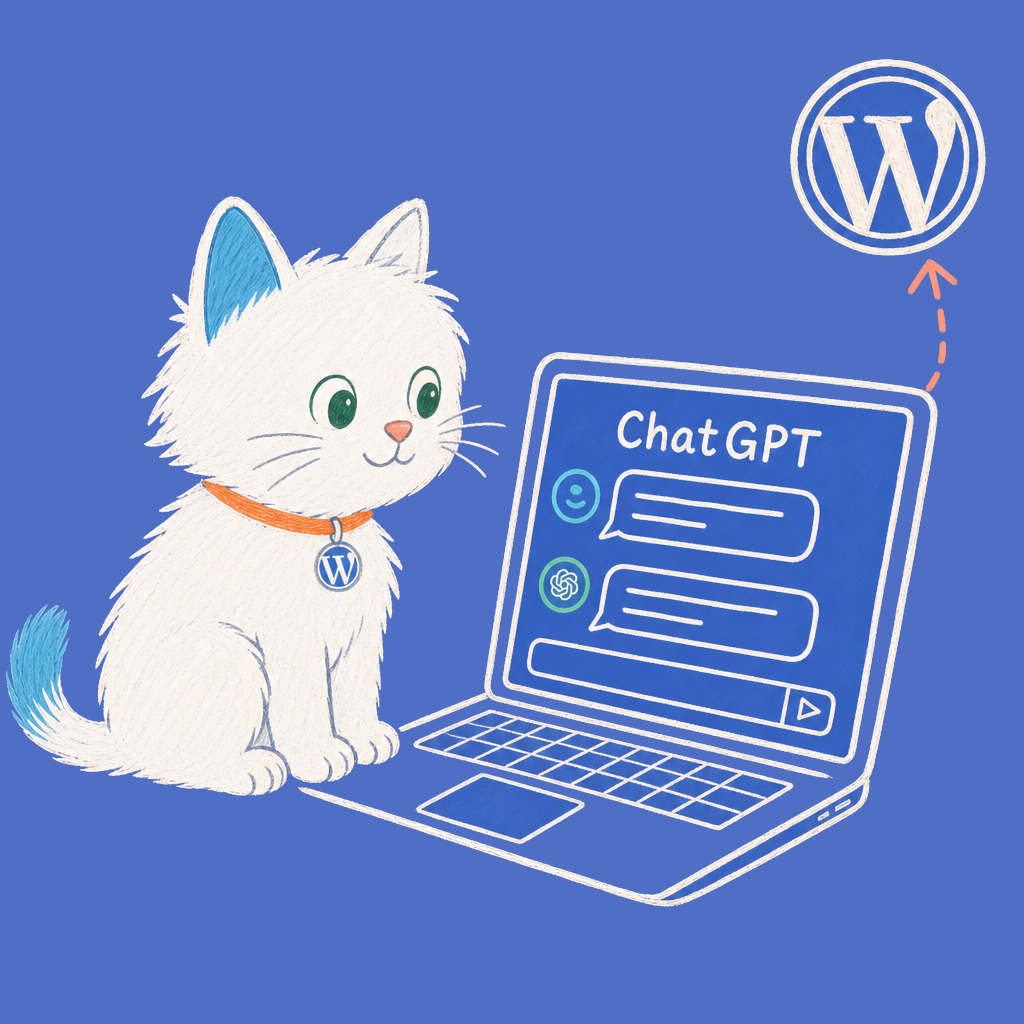
Connecting ChatGPT to your WordPress site is now as easy as pasting a URL and clicking Approve. AI Engine now ships with proper OAuth 2.1 support for MCP, so there is nothing to install, no token to copy, and no config file to edit. 😮
What’s MCP? The Model Context Protocol (MCP) is the open standard ChatGPT (and other AI assistants) uses to call external tools. With AI Engine, your WordPress site becomes an MCP server that publishes 30+ tools: everything from wp_create_post to wp_upload_media and theme operations. Here’s everything AI Engine’s MCP server can do. New to MCP? Check out MCP for WordPress for a beginner-friendly introduction.
Using a different assistant? See our guides for Claude Desktop and Claude Code. This article covers ChatGPT.
Hit “Couldn’t reach the MCP server” or the consent screen never loads? See Fix: MCP Connection Issues — local-only hostnames, blocked /.well-known/, WP Engine’s WAF, 2FA interception, and a quick diagnostic checklist.
Depending on your plan, you may need to enable Developer Mode in ChatGPT to add a custom connector. If the option isn’t showing in your account, check the OpenAI docs.
Quick Setup
1. Enable MCP on Your Site
In WordPress, go to AI Engine → Settings → MCP and turn on Enable MCP Server. That’s the only switch you need for OAuth. You don’t have to set a Bearer Token: OAuth clients like ChatGPT don’t use one. 😺
While you’re there, pick which feature groups to expose under MCP Features: WordPress (on by default), Plugins, Themes, Polylang, WooCommerce, and so on.
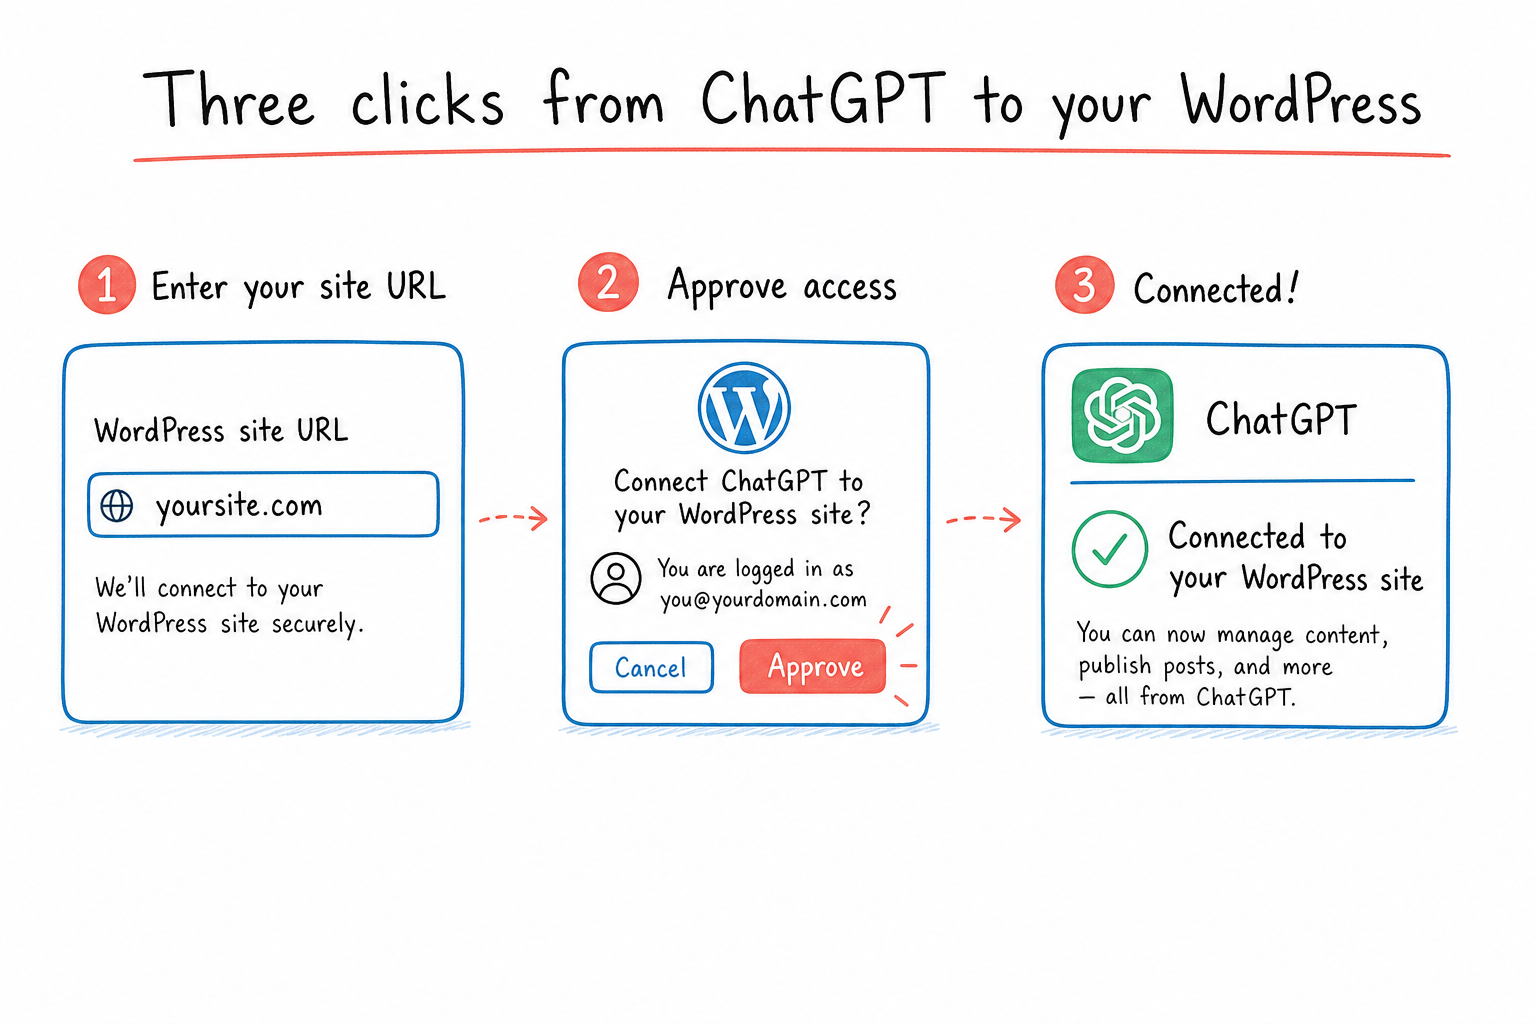
2. Add the Connector in ChatGPT
In ChatGPT, navigate to Settings → Apps & Connectors → Create. Give your connector a name (such as WordPress (My Website)) and paste your site’s MCP URL as the MCP Server URL:
https://example.com/wp-json/mcp/v1/httpFor authentication, choose OAuth, then click Create.
3. Sign In and Approve
ChatGPT opens your browser and sends you to your WordPress site. If you’re not already logged in, you’ll see WordPress’s normal login screen first (the standard wp-login.php page, nothing custom). Once you’re in, you’ll land on an approval screen showing which app is asking, who you’re signed in as, and what role you have on the site. Click Approve, and that’s it. 🎉
Back in ChatGPT, refresh the connector and you’ll see all the available Actions. ChatGPT now has access to your WordPress site through your own user account, scoped to your role.
PS: If you enable more MCP feature groups later (Plugins, Themes, and friends), hit Refresh on the connector to pick up the new tools.
What You Can Do
Just ask, in plain English:
- Simple: “List my latest 5 posts.”
- Simple: “Create a draft post about summer recipes and tag it.”
- Intermediate: “Show me my top 10 articles this year and explain why they perform well.”
- Advanced: “Fork Twenty Twenty-One into a dark grid theme called Futurism supporting post types Article and Project.”
Manage Connected Apps
Back in the MCP settings panel, the Connected Apps section lists every OAuth grant: which client, which WordPress user it’s tied to, when it was authorized, and when it was last used. One click revokes access. 🔒
Why AI Engine?
Unlike raw REST API access, AI Engine provides AI-optimized tools: clear parameters, concise responses, and smart annotations that keep interactions safe and efficient. The tools cover everything from posts, media, comments, users, and taxonomies (WordPress core), to plugin and theme management, multilingual content with Polylang, WooCommerce, AI image generation, and vision analysis. ✨
MCP gives ChatGPT full access to your WordPress through your account. It can create, modify, and delete content, plugins, themes, and settings. Start with a test site, and use it wisely on production!
Legacy: The Old No-Auth URL
If you set this up before OAuth landed, you may remember the No-Auth URL approach (token embedded in the URL) and the /wp-json/mcp/v1/sse endpoint. That path is now deprecated and scheduled for removal in July 2026. New installs don’t see it anymore. If you’re still on it, switching to the OAuth flow above takes about a minute.